
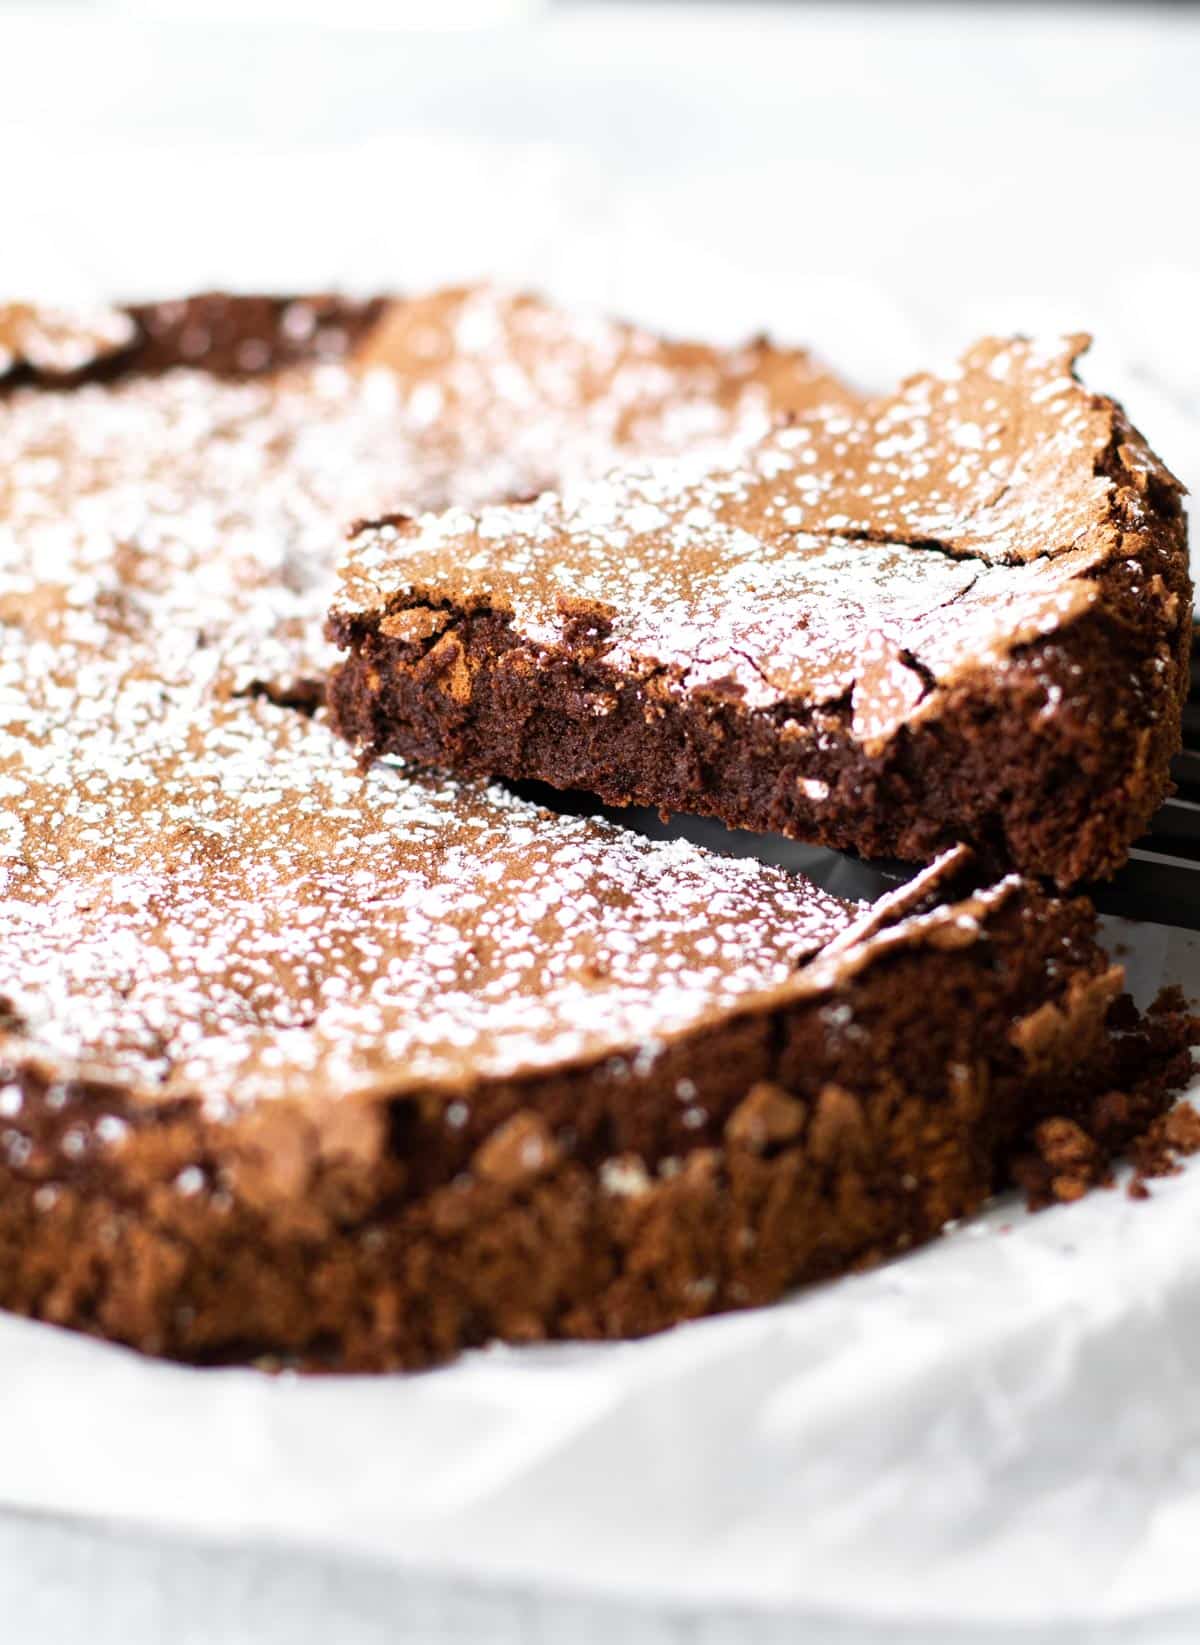
Flourless Chocolate Cake
This Flourless Chocolate Cake is made with 5 ingredients and is ready in about an hour. It’s rich and decadent – the best chocolate dessert. Learn how to make it and get all of my best tips!
Back when this ye olde blog was just beginning (circa 2009), I made this flourless chocolate cake for the first time, and it forever hooked me. It’s all about the chocolate – dark chocolate, in this case. It’s richer than brownies, denser than traditional chocolate cake, and so amazingly good I’ve made it countless times over the years.
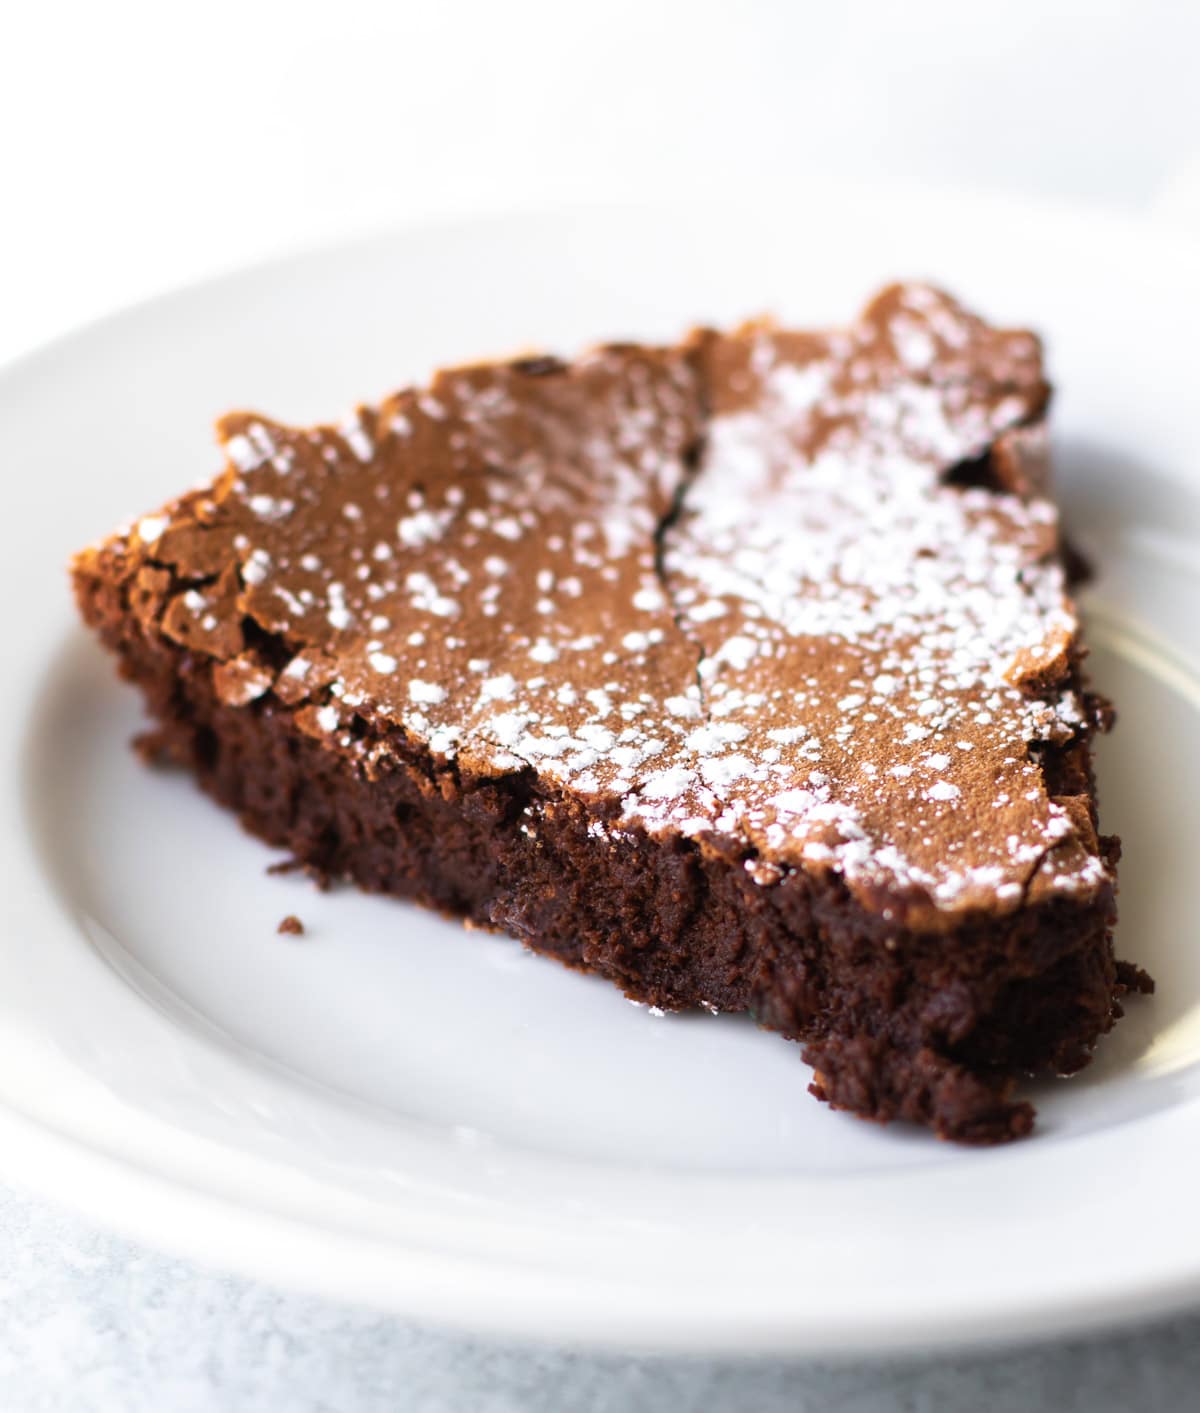
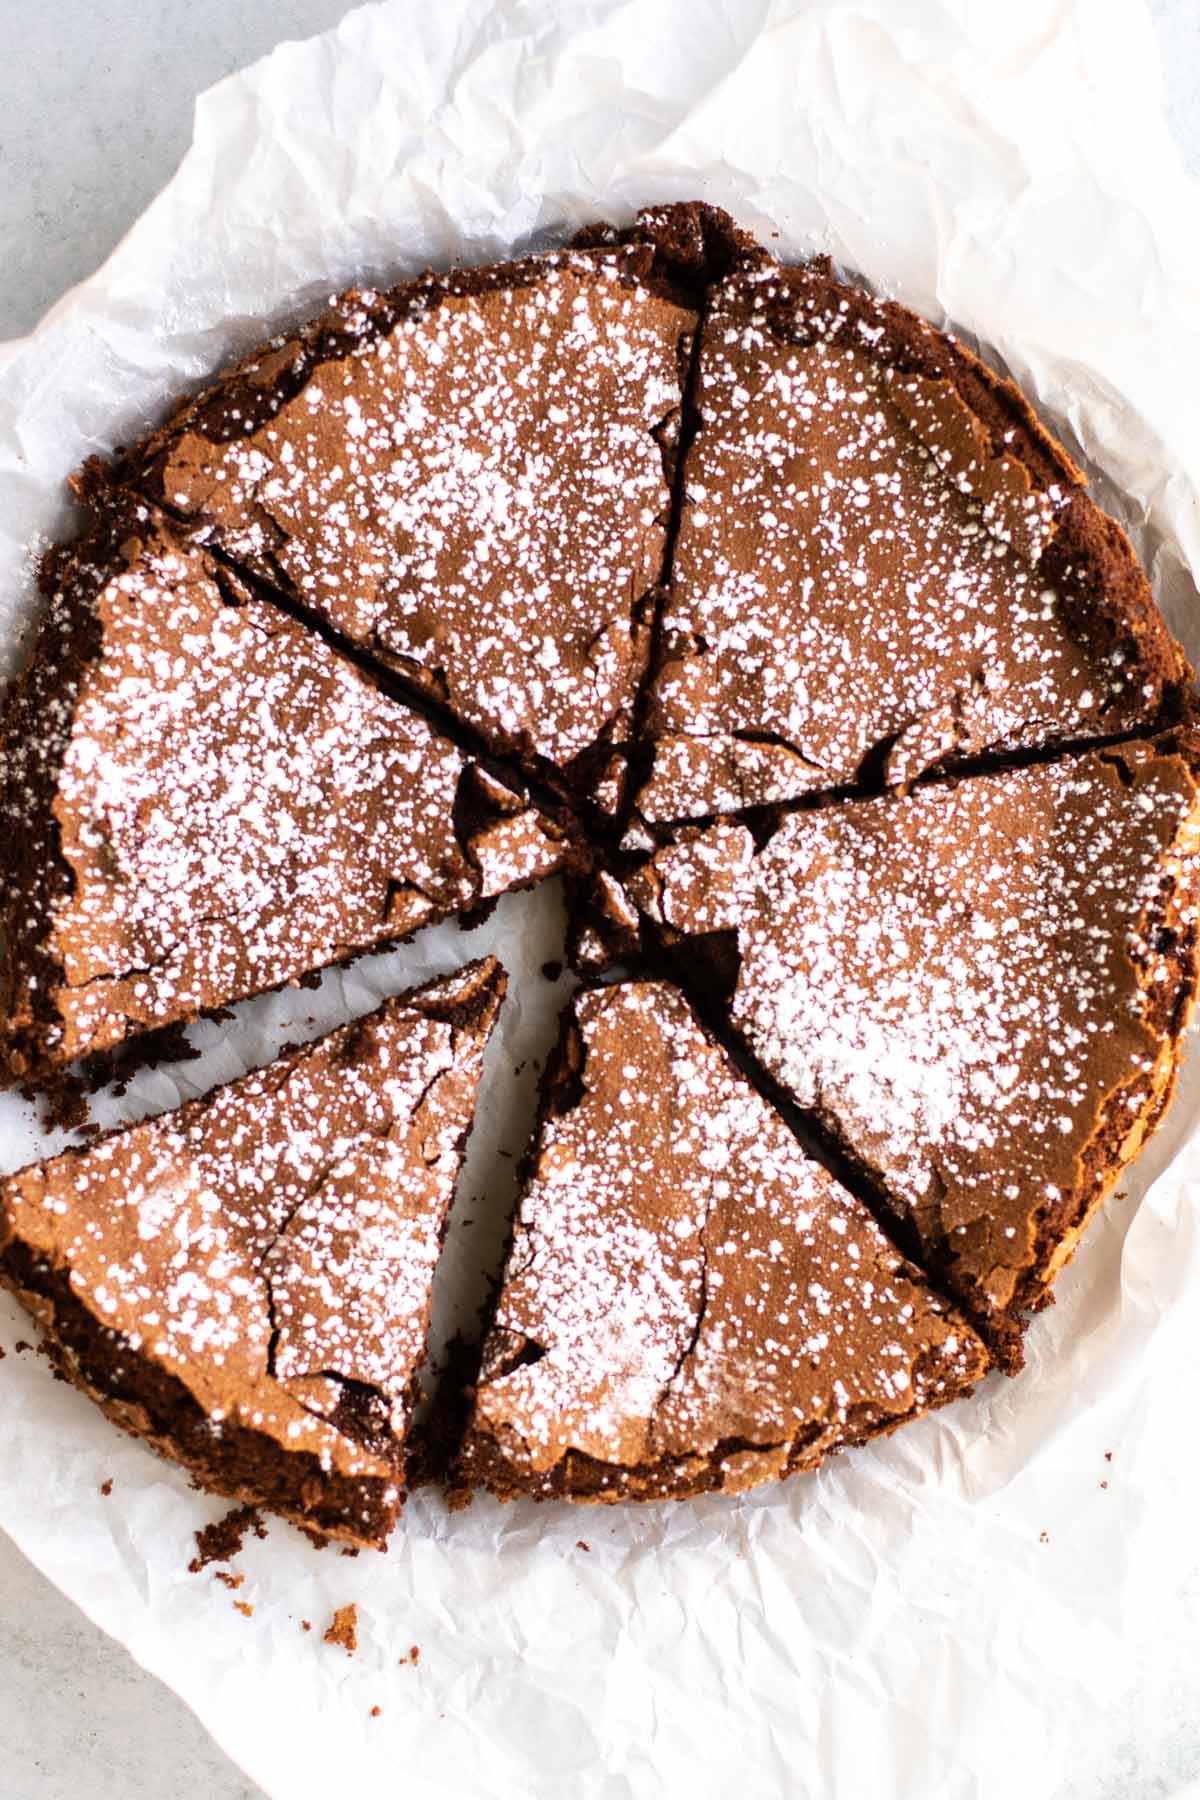
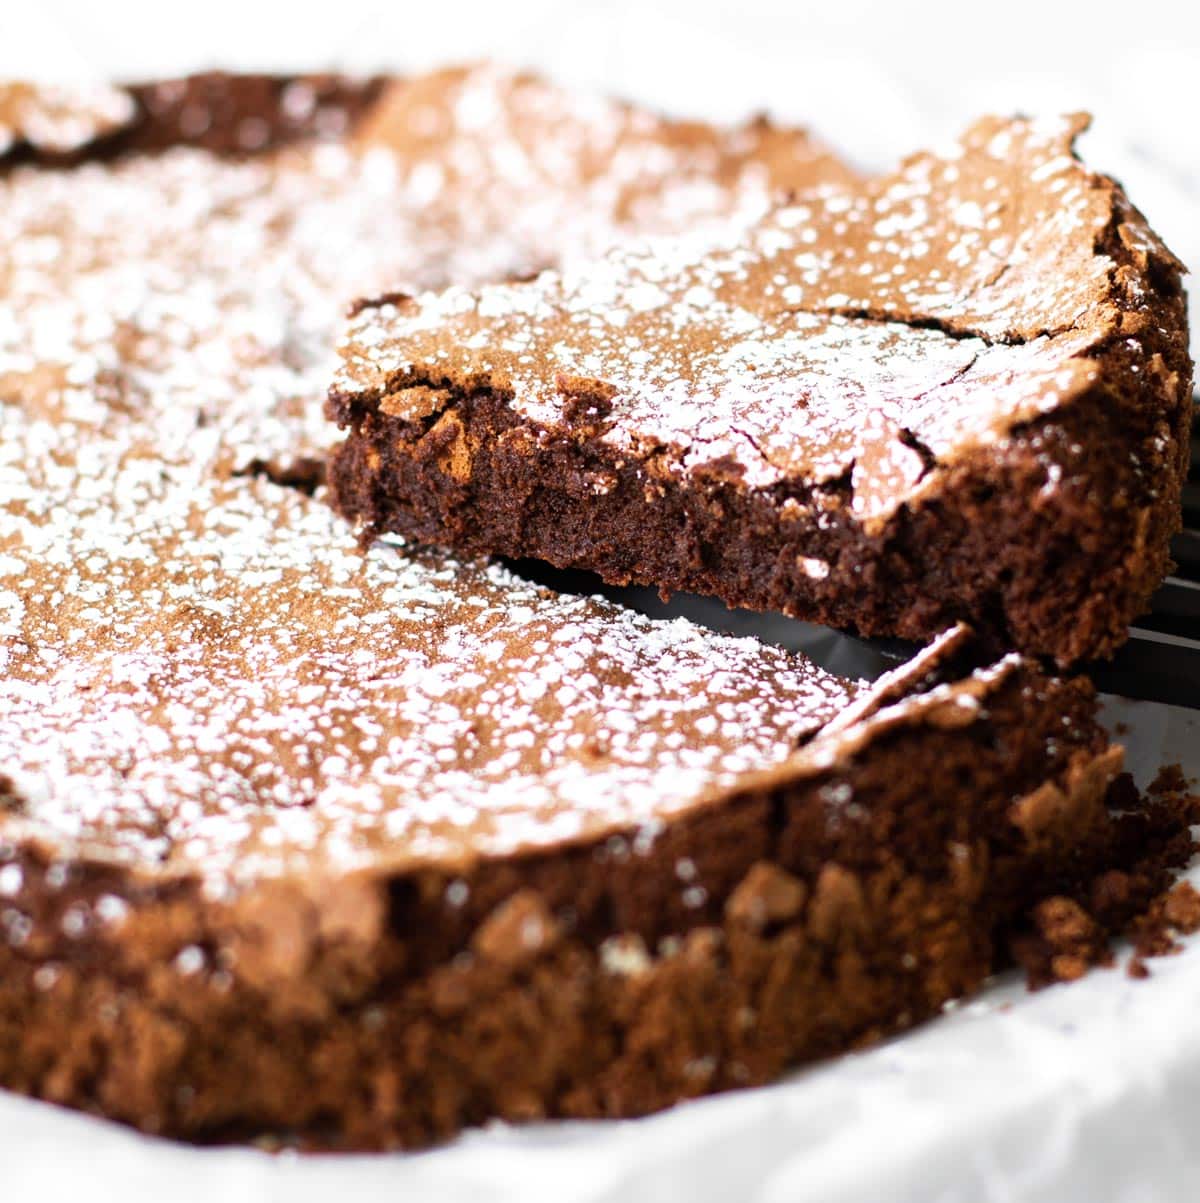
And, surprisingly, it’s easy-ish. You only need five ingredients, a couple of bowls, and about 15 minutes to get it into the oven. The cake gets its structure and lift from whipped egg whites, and the end result is a decadent and rich chocolate cake with a lightly crispy crust that cracks when you slice it. It’s heaven.

The original recipe comes to us from Wolfgang Puck, and I first learned about it during a late-night Food Network binge session. My days of bingeing the Food Network are long gone, but this flourless chocolate cake has stuck with me. It really is a wonderful dessert.
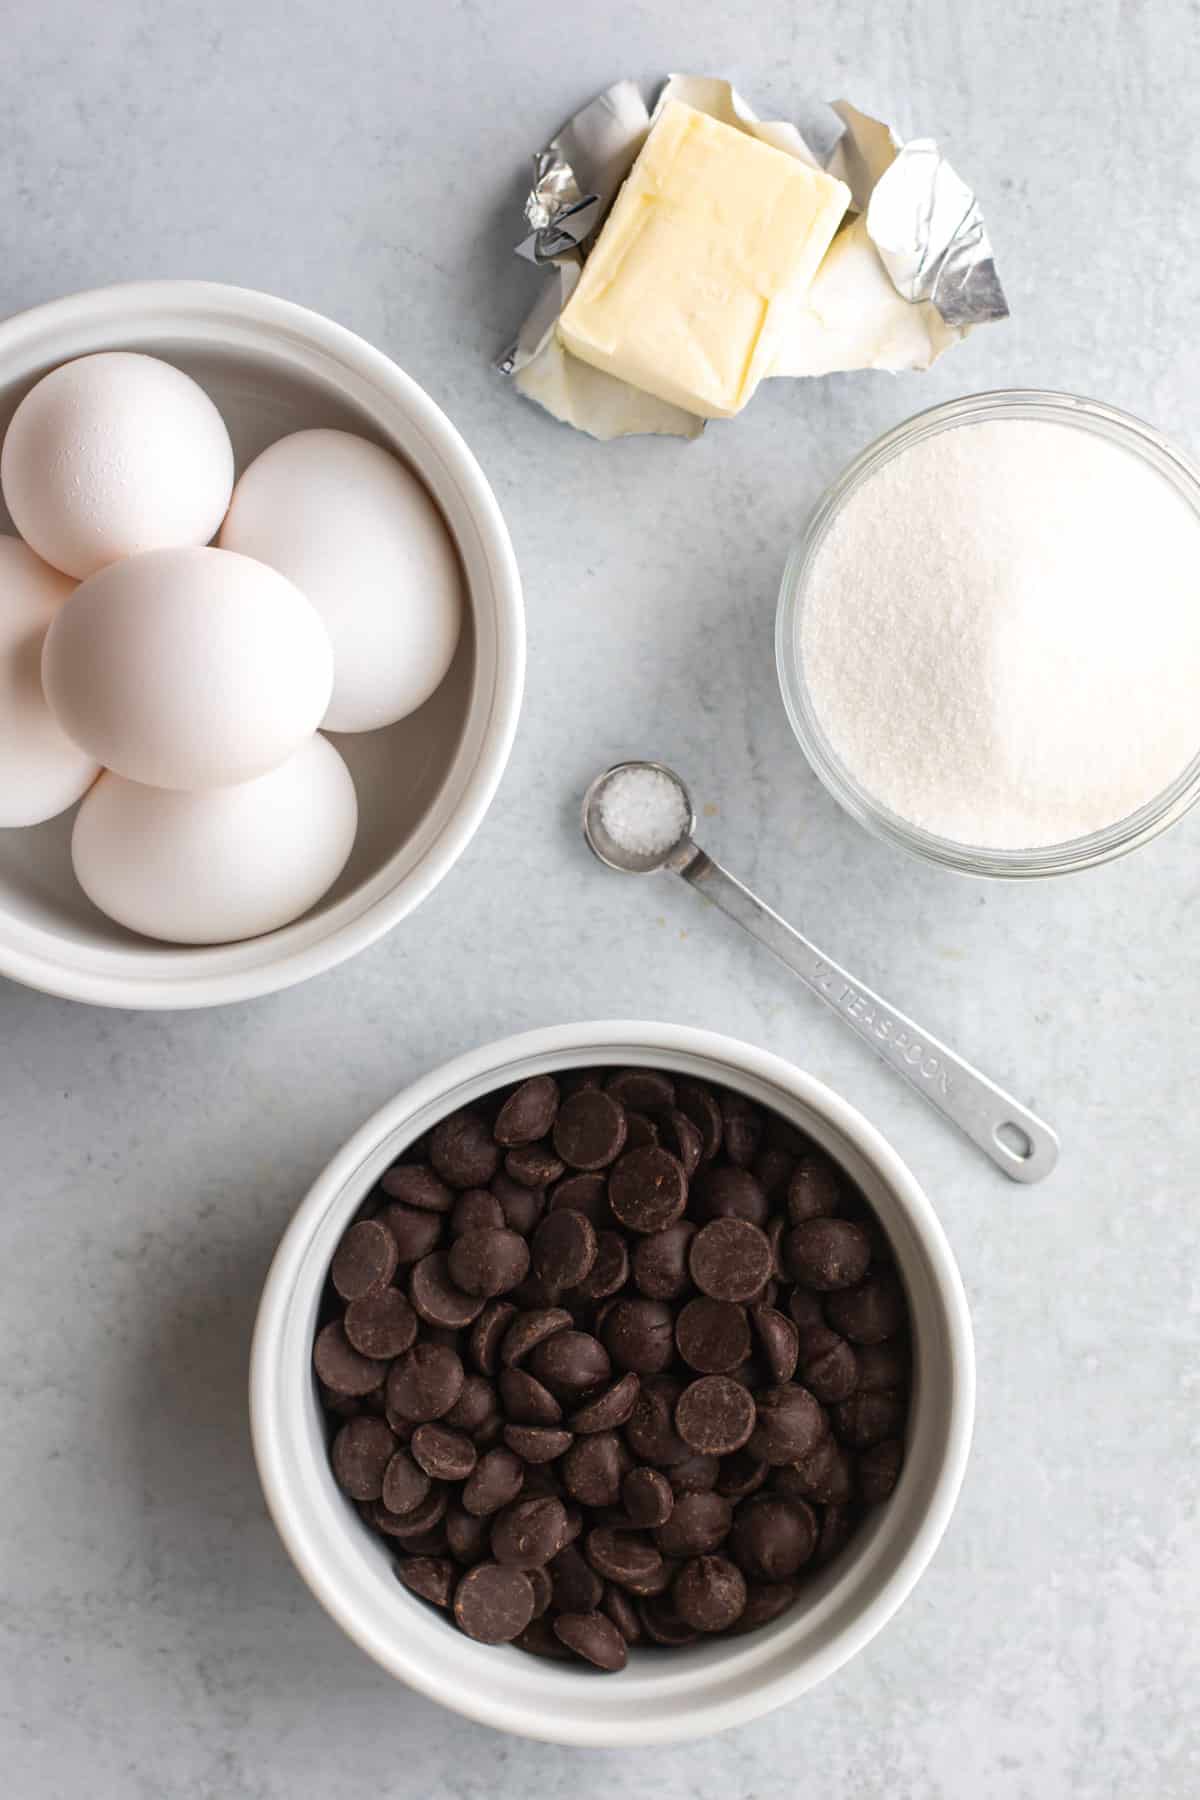
Ingredients
- Unsalted butter – I like to slice it, so it melts faster.
- Dark chocolate – you can use chopped chocolate or dark chocolate chips
- Large eggs – separate the whites into a medium mixing bowl and the yolks into a large mixing bowl.
- Pinch of salt
- Granulated sugar
How to Make It
Prepare the Cake Pan
While the cake itself is flourless, you will need a small amount of butter and flour to prepare a 9″ cake pan. This step is critical – I’ve skipped it before and just sprayed the pan with cooking spray, and the cake ends up stuck to the pan.
Spraying the pan is fine if you don’t care about turning the cake out onto a platter, but it does make it hard to get clean slices out of the pan. So my advice? Butter and flour the pan – it takes an extra couple of minutes, but you’ll be glad you did.
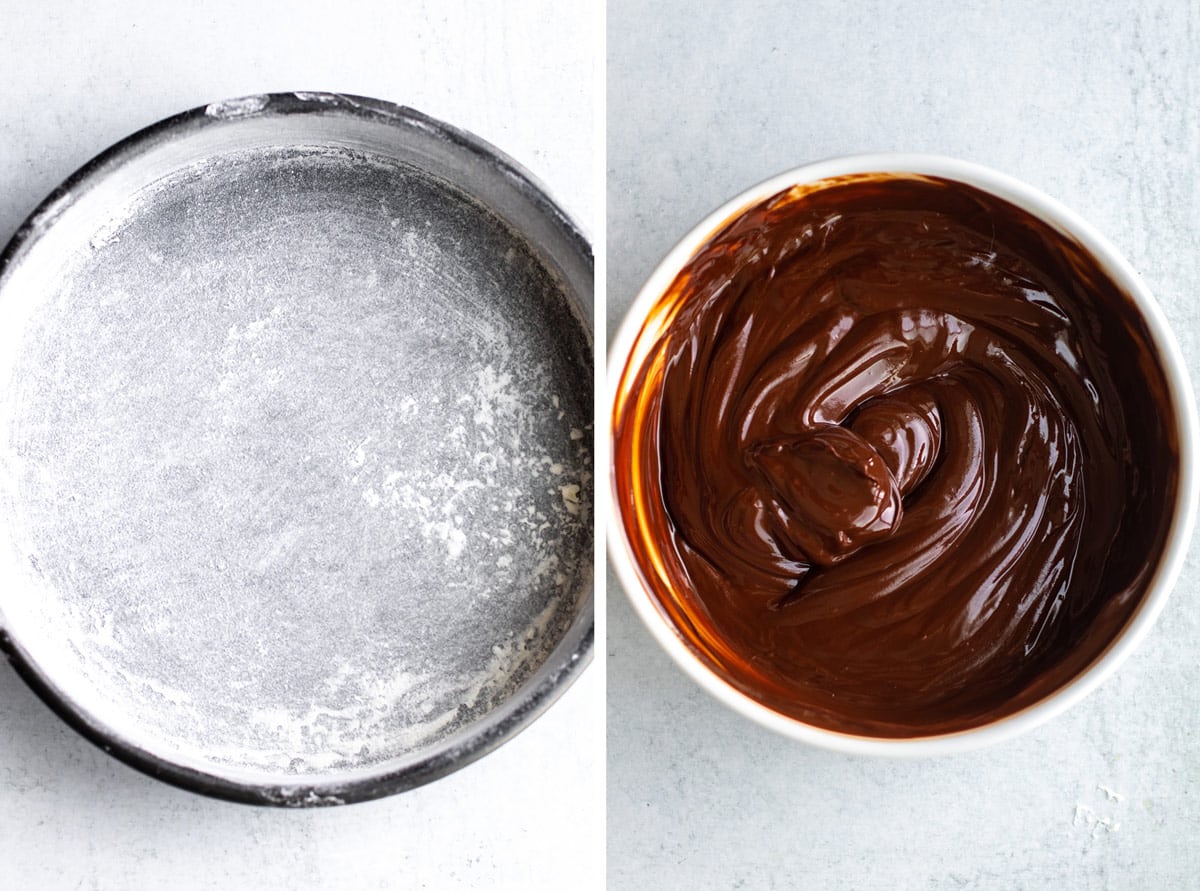
Melt the Chocolate
Place the chocolate and butter in a microwave-safe bowl. Warm them in 30-second intervals, stirring between each until the chocolate is smooth. Set the melted chocolate aside to cool.
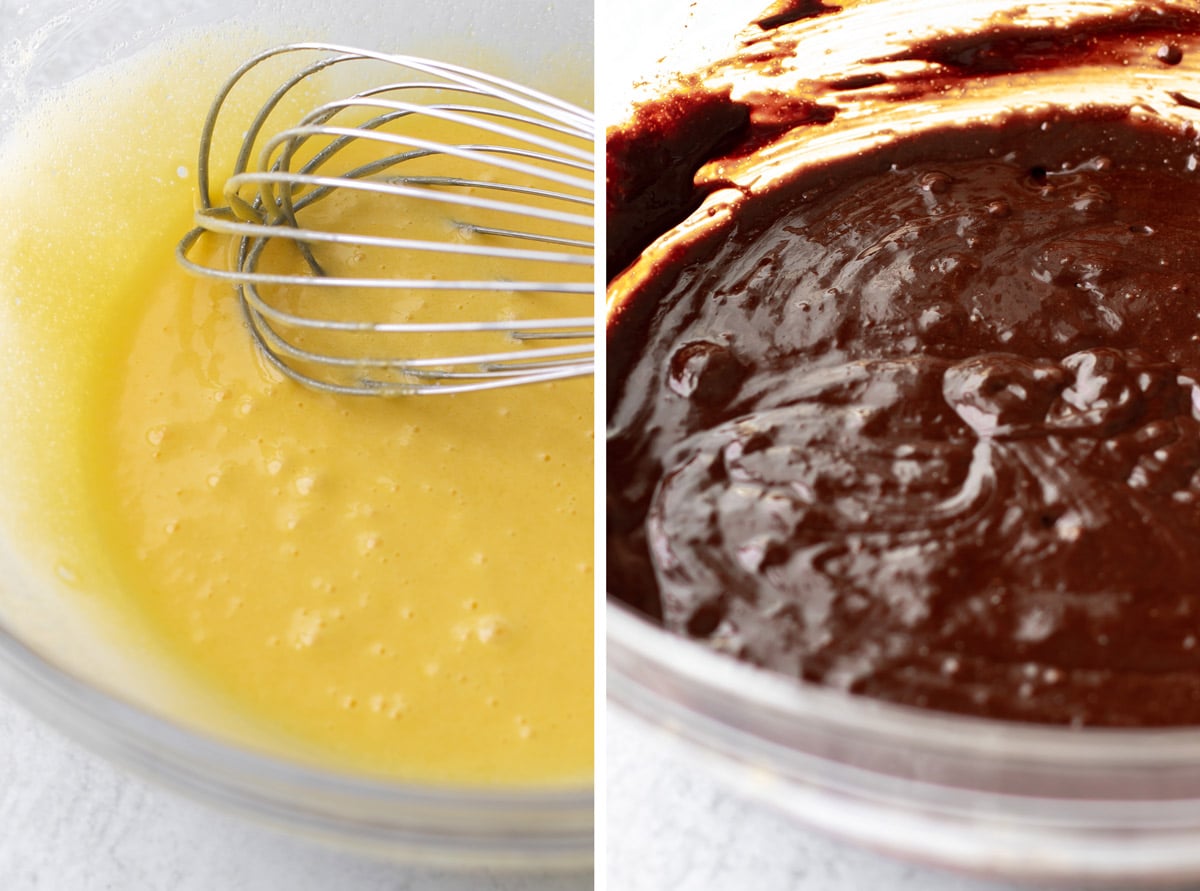
Whisk the Egg Yolks
Measure out 2/3 cup of granulated sugar and then remove three tablespoons of it to use for the egg whites later.
Pour the remaining sugar into the bowl with the yolks and whisk for a couple of minutes or until the mixture is smooth and the sugar is dissolved.
Switch to a spatula and stir in the melted chocolate.
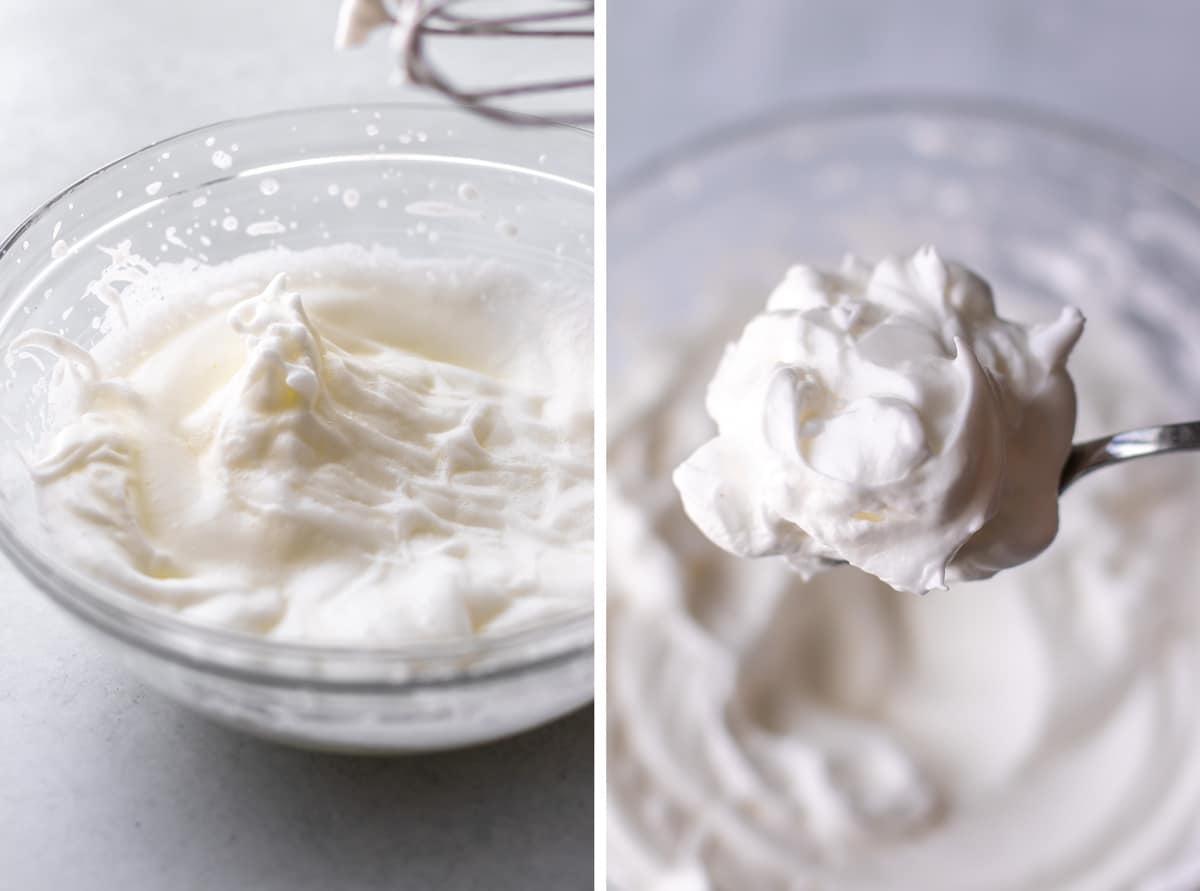
Whip the Egg Whites
Using an electric mixer, whip the egg whites in the large bowl until they hold soft peaks. At first, they will turn frothy, and as they incorporate more air, they will whiten and increase in volume.
Slowly add the three tablespoons of sugar while mixing. Whip until the whites stiffen up enough to hold their shape but not so stiff that they look dry. This will only take a minute or so.
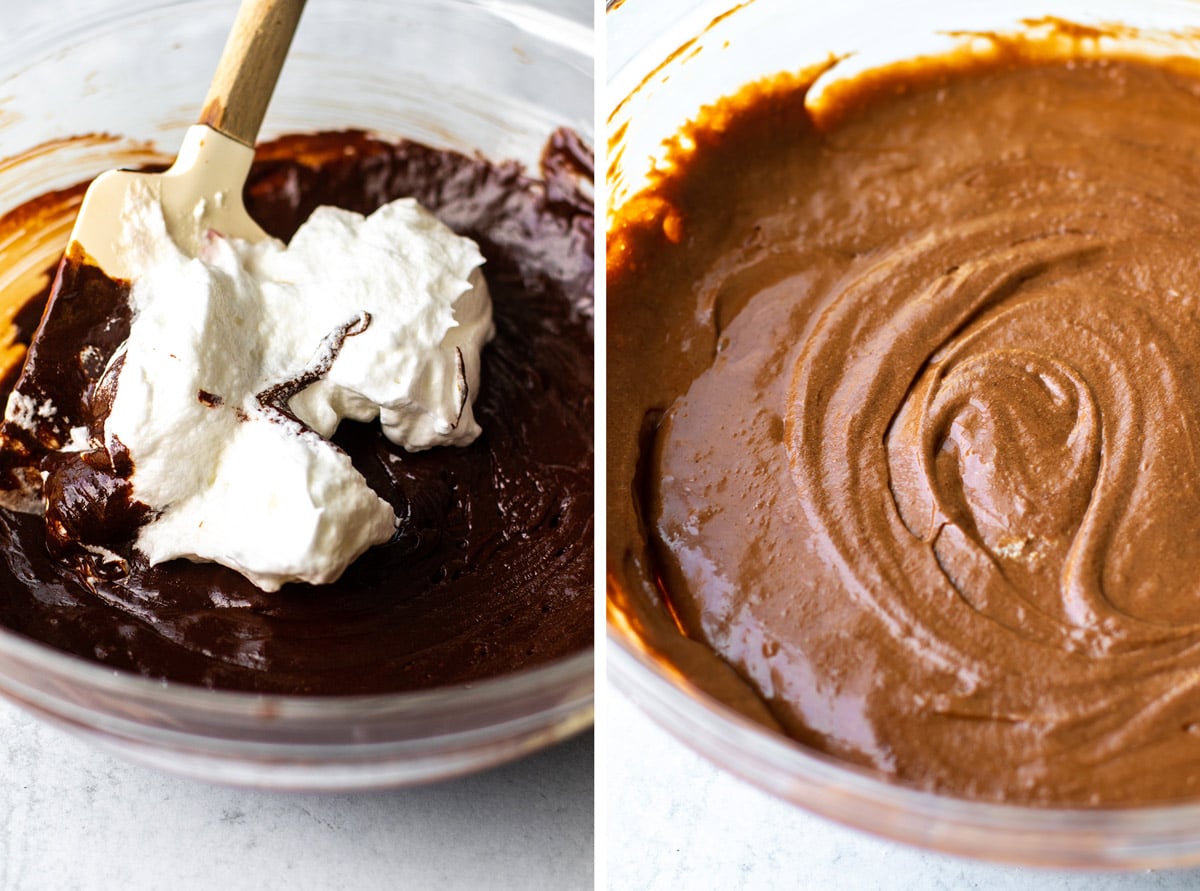
Fold the Batter
Slowly fold the whipped egg whites into the chocolate mixture. Do this in batches and don’t stir. Instead, do a folding motion with the spatula by pulling the spatula under the batter and pull the batter up over itself.
If you stir, the egg whites will deflate, and your cake will end up very flat. So, take your time with this step. I like to run the spatula around the edges of the bowl of few times to ensure everything gets mixed in. Don’t forget the bottom of the bowl – scrape the spatula across the bottom a few times, so all the chocolate gets mixed in.
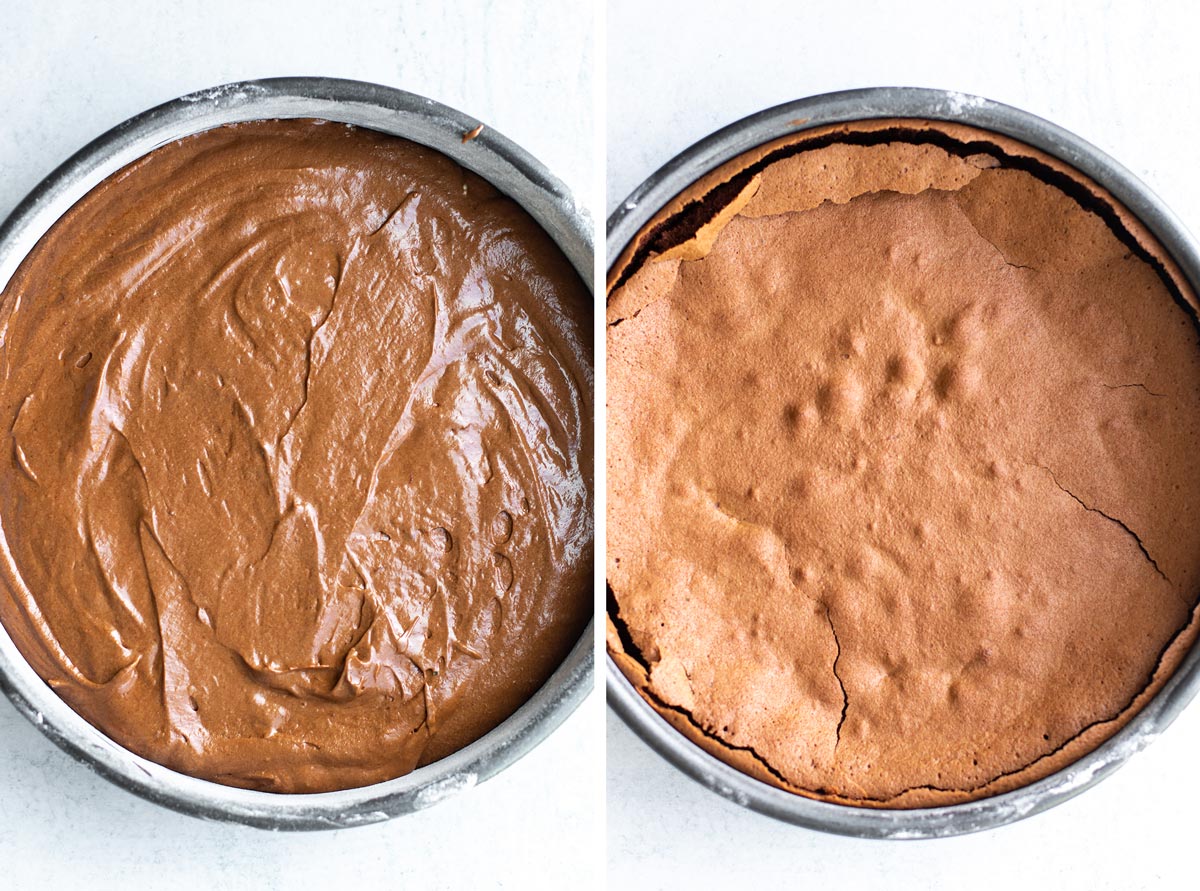
Bake the Cake
Gently scrape the cake batter into the prepared pan.
Bake the cake at 325°F for 45 minutes to an hour. I find that it’s usually done in about 45 minutes or so, but depending on your oven, your cake may need more or less time. Check it with a toothpick – the cake is done if it comes out clean.
When the cake first comes out of the oven, it will be puffed up. As it cools, it will sink in the middle, so don’t worry if that happens – it’s supposed to sink.
Let the cake cool in the pan for at least an hour before turning it out onto a wired baking rack. Run a dinner knife around the edge to loosen it. To remove the cake, place the rack on top of the pan. Using both hands to hold the pan and the rack in place, invert the pan, so it’s upside down on the rack.
The cake should slide out of the pan. If it’s a little stubborn. Lightly shake or rap on the bottom to loosen it.
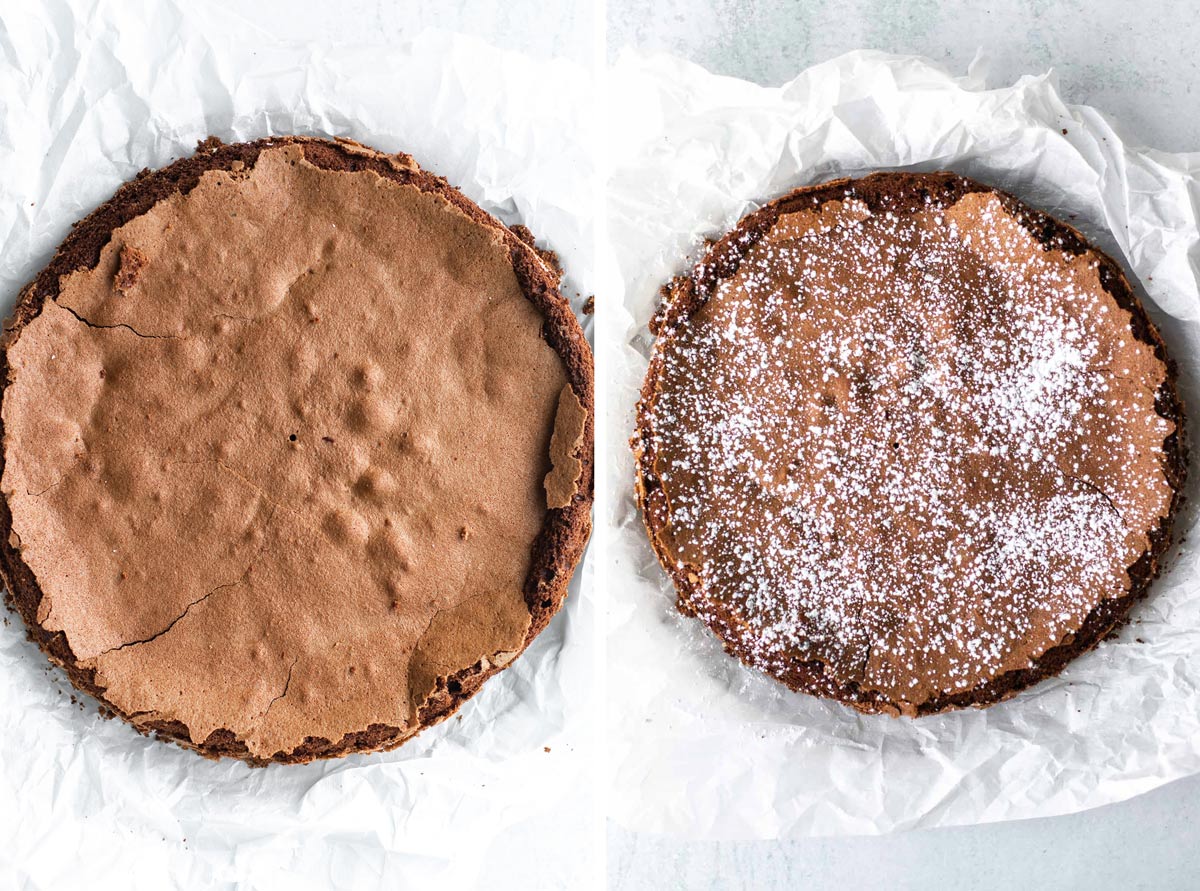
Once the cake is cooled to room temperature, you can serve it as it is or dust it with powdered sugar.
Recipe Tips
Cake pan: A standard 9″ cake pan works great, but I have also made this in a 9″ springform pan. The springform pan makes it really easy to remove the cake (no flipping or worrying about it sticking), but it does shatter that crispy top.
Whipping: You don’t need a fancy stand mixer to whip the whites – a regular hand mixer (my fave) works great. Whip at a high speed for the best results – it won’t take long to get them to the right consistency.
Cake removal tips: If you use a regular cake pan, here are some tips to make it easy to remove it if you run into trouble:
- Generously butter and flour the pan – don’t just use cooking spray.
- You can line the pan with parchment paper as extra insurance. I don’t do this, but it will make it release even easier. This is also an option if you want to make the cake gluten-free – spray the pan first with cooking spray and then line the bottom and sides with parchment.
- If your cake is cooled to room temperature and won’t release from the pan, stick it in the freezer for 15 minutes or so. Once it’s cold, turn the pan face down and rap on the bottom of the pan. The cake should release.
- I like the crispy, cracked, thin crust on the cake, but if yours gets too messy, just turn the cake over so the bottom of the cake becomes the top.
Serving: This flourless chocolate cake is best once it’s cooled to room temperature. The cake will settle, and the flavors will fully develop. I think it’s even better the next day, so feel free to make it a day in advance. Once it’s cooled, cover it with plastic wrap and keep it at room temperature until you’re ready to serve it.
Slicing: Wipe the knife off after each cut to get clean slices.
Toppings: This cake is so rich it doesn’t need much to go with it, but here are a few ideas if you want to dress it up:
- Dust it with powdered sugar
- Add a dollop of unsweetened whipped cream with grated chocolate sprinkled over the top.
- A small scoop of vanilla ice cream
- Garnish the ice cream or whipped cream with fresh berries – fresh raspberries would work really well.
- Drizzle each slice with a little chocolate syrup, caramel sauce, or fruit syrup like strawberry or raspberry sauce.
Storage Tips
This cake keeps well at room temperature for several days as long as it’s tightly wrapped. You can also store it in the refrigerator for a few days longer.
You can freeze it for a month or so. Let it cool, and then wrap it tightly with plastic wrap. Store it in a freezer bag. Thaw it at room temperature before you serve it.
If you’re looking for a chocolate fix, this flourless chocolate cake recipe is a decadent way to treat yourself. I hope you try it soon and love it as much as I do.
Happy baking,

More Chocolate Recipes!
Flourless Chocolate Cake
Ingredients
- 4 ounces unsalted butter sliced
- 8 ounces dark chocolate chopped (or the same amount of chocolate chips).
- 5 eggs separated (egg yolks in a medium bowl and the egg whites in a large bowl)
- Pinch of salt
- 2/3 cup of sugar divided (3 tablespoons for the egg whites and the rest for the yolks)
- Powdered sugar for dusting the cake optional
Instructions
- Preheat the oven to 325°F. Butter and flour a 9-inch round cake pan.
- Melt the chocolate and butter in a bowl by microwaving it in 30 seconds intervals. At the end of each 30-second interval stop to stir. Just be careful not to cook it too long and stir frequently. In my experience, I have found that it usually takes two to three 30-second intervals for it to melt. Set it aside to cool.
- In a large bowl, whisk the egg yolks, the salt, and all but 3 tablespoons of the sugar. Stir the melted chocolate into the yolks until combined.
- As I mentioned, I’ve made this cake quite a few times and have discovered there are two critical steps in the recipe. The first critical step is whipping the egg whites to the right consistency. First, beat them on medium speed with an electric mixer in a large bowl until they are stiff enough to hold a soft peak. Then slowly add the 3 tablespoons of sugar and beat them just until they tighten up but are not dry. If you overbeat them, your cake will be too dry. Gently fold the egg whites into the chocolate mixture until combined, and then pour the cake batter into the prepared pan.
- The second critical step is baking the cake. The original recipe says to bake it for an hour and fifteen minutes, but I have discovered it takes less time. Every oven varies, so I recommend baking it for 45 minutes to an hour. Start checking it at 45 minutes and, if necessary, continue baking it until an inserted toothpick comes out clean.
- Cool the cake in the pan for at least an hour. The cake will sink in the middle as it cools, which is fine.
- Once cooled, place a wire baking rack on top of the cake and, holding on to the dish and the rack, flip the cake over. At this point, the cake will be upside down. Place the serving plate on top of it and invert it again onto the plate, so the crispy crust is on top.
- Dust with powdered sugar before serving.
Notes
Nutrition Estimate
Post and photos updated from the archives. First published in August 2009.
So good. I’ve made this 4 times now. 45 min is too long for my oven. I have found 35 min is about perfect. LOVE this cake❤️❤️
So glad you like it! Thanks for letting me know 🙂
Hi April! I plan to use a 9 inch springform pan. When you used a springform, did you still invert and remove the bottom right after out of oven or did you just remove the sides and let it cool (and serve) on the bottom of the pan? Thanks!
I usually let it cool completely before removing the sides, but I think you could do it sooner. I would just let it cool for at least five to 10 minutes first before releasing it – should be fine! You can slide it off the bottom to a serving plate but I would wait until it’s totally cool (I usually just leave it on there).
Thanks so much! If you let completely in pan before removing sides, I’ll do the same. Thanks!!!!
Sorry, for the additional question, but when you let it cool completely in the pan, do you still go for clean toothpick or few moist crumbs? Many thanks!
Don’t apologize for questions – happy to help! So, you should do the toothpick test once you take it out of the oven. It should come out clean with only a few crumbs – if it comes out with batter clinging to it, the cake will need more time. I do this whether I leave it to cool completely in a regular pan or springform. Hope this helps.
Thanks so much! And do you place a baking sheet under the springform pan when you bake it? I know some recipes say to do that to catch drips but do you know if it alters the texture of the cake in any way?
I usually just wrap the bottom of the pan with foil – mine doesn’t have a tendency to leak.
Thanks! I’ve also just put a piece of foil on the rack below.
This was delicious! Thanks so much for the recipe!
Can you use a sugar substitute if you’re on a KETO diet?
I haven’t tested this with an alternative sweetener, so I’m not sure. Since some of the sugar substitutes are not a 1 to 1 swap for regular sugar I can’t say how you would do it. Sorry I can’t be more of a help – let me know if you try it!
I too am a huge fan of Wolfgang Puck and used to watch his cooking show. I have made this cake several times and every time I make it someone asks for the recipe.
I can’t thank you enough for sharing the recipe. I highly recommend it. It is my favorite go to cake!
Oh, I’m so happy that you love this recipe – it’s one of my all-time favorites!
Best chocolate cake I’ve ever had!
I need this cake for about 15 people do you recommend just tripling the recipe and size of the pan or would you make 3 cakes?
I think making 3 separate cakes would be best – I’m not sure how it would turn out in one big pan, it might not puff up the way it should.